This easy sourdough bread recipe for beginners is a simple, no-knead method that creates a beautiful, crusty loaf at home. With just a few ingredients—flour, water, salt, and an active sourdough starter—you’ll learn how to make homemade sourdough step-by-step without complicated techniques.

This easy sourdough recipe is perfect for beginners! With simple, no-knead steps and imperial measurements, this guide will help you make a beautiful, crusty loaf of foolproof sourdough bread at home—no fancy tools or experience needed. Whether you’re just starting with your sourdough starter or looking for a more approachable method, this is the best beginner-friendly sourdough recipe to get you baking with confidence. If you’ve ever felt intimidated by sourdough, this is the recipe to start with. It’s straightforward, forgiving, and designed to help you build confidence while baking your first loaf.

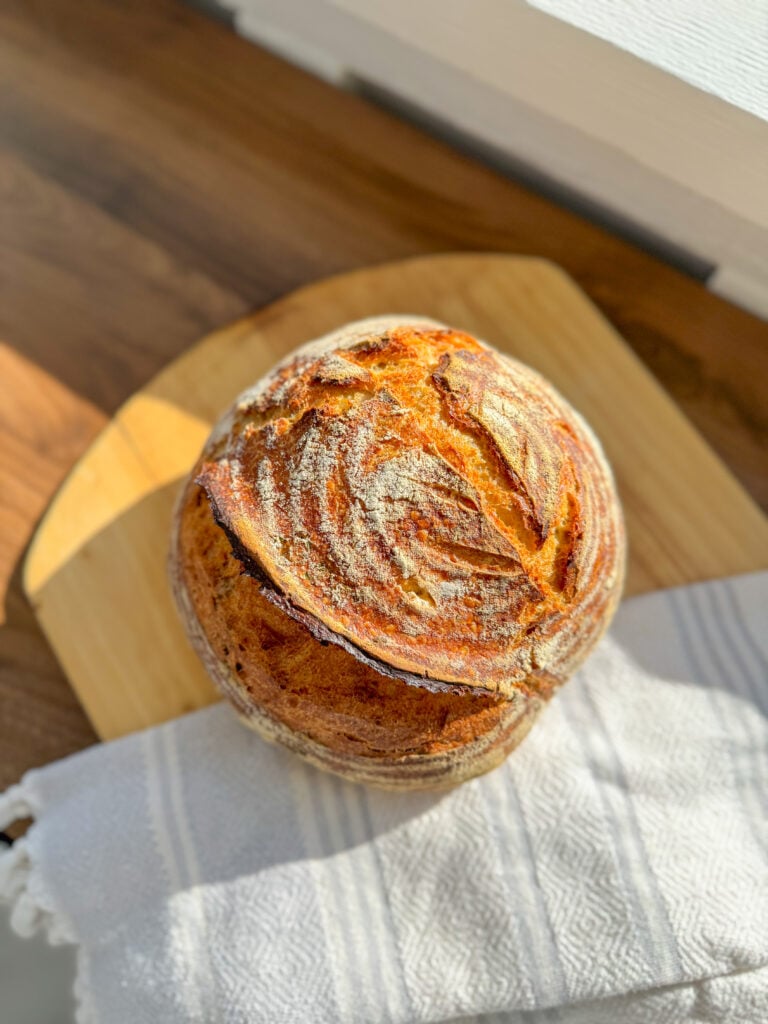
What This Sourdough Tastes Like
- Light tangy flavor (not overly sour)
- Crispy golden crust
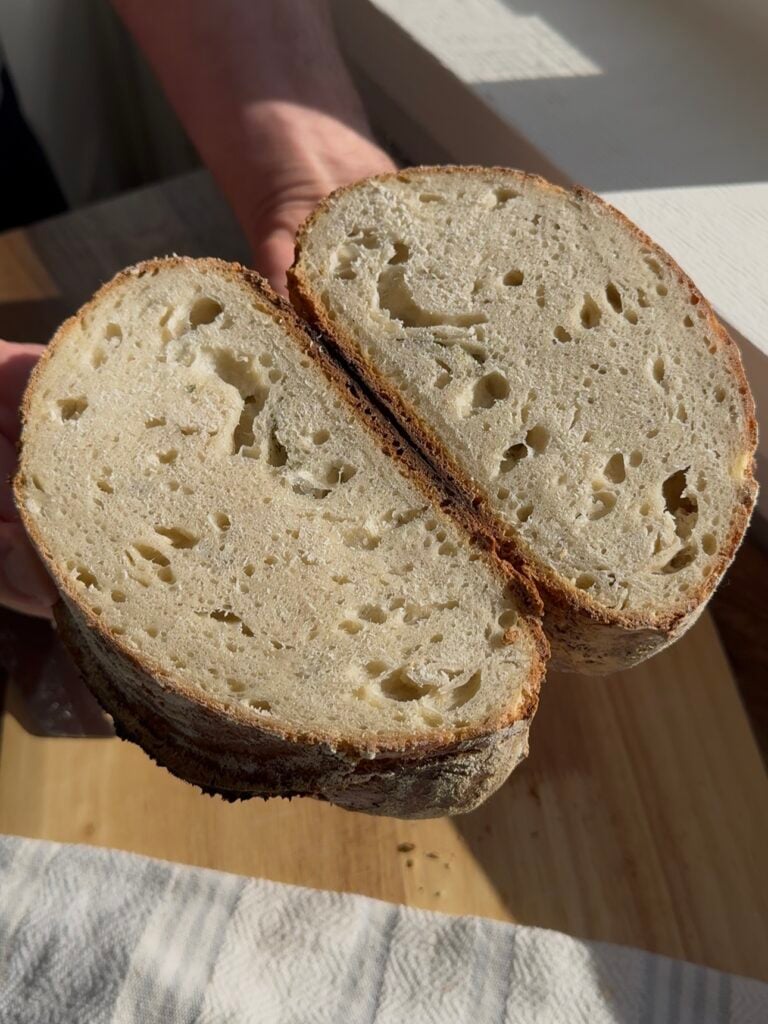
- Soft, chewy interior
- Slightly airy with a tender crumb
Easy Sourdough Recipe
Ingredients - Sourdough for Beginners
- ½ cup active sourdough starter
- 1 ⅓ cups warm filtered water
- 3 cups all-purpose flour
- 1½ teaspoon salt
Equipment
- Large mixing bowl
- Tea towel
- Plastic wrap
- Dutch oven with lid
- Parchment paper (optional)
- Sharp knife or bread lame
Instructions - How to Make Sourdough Bread
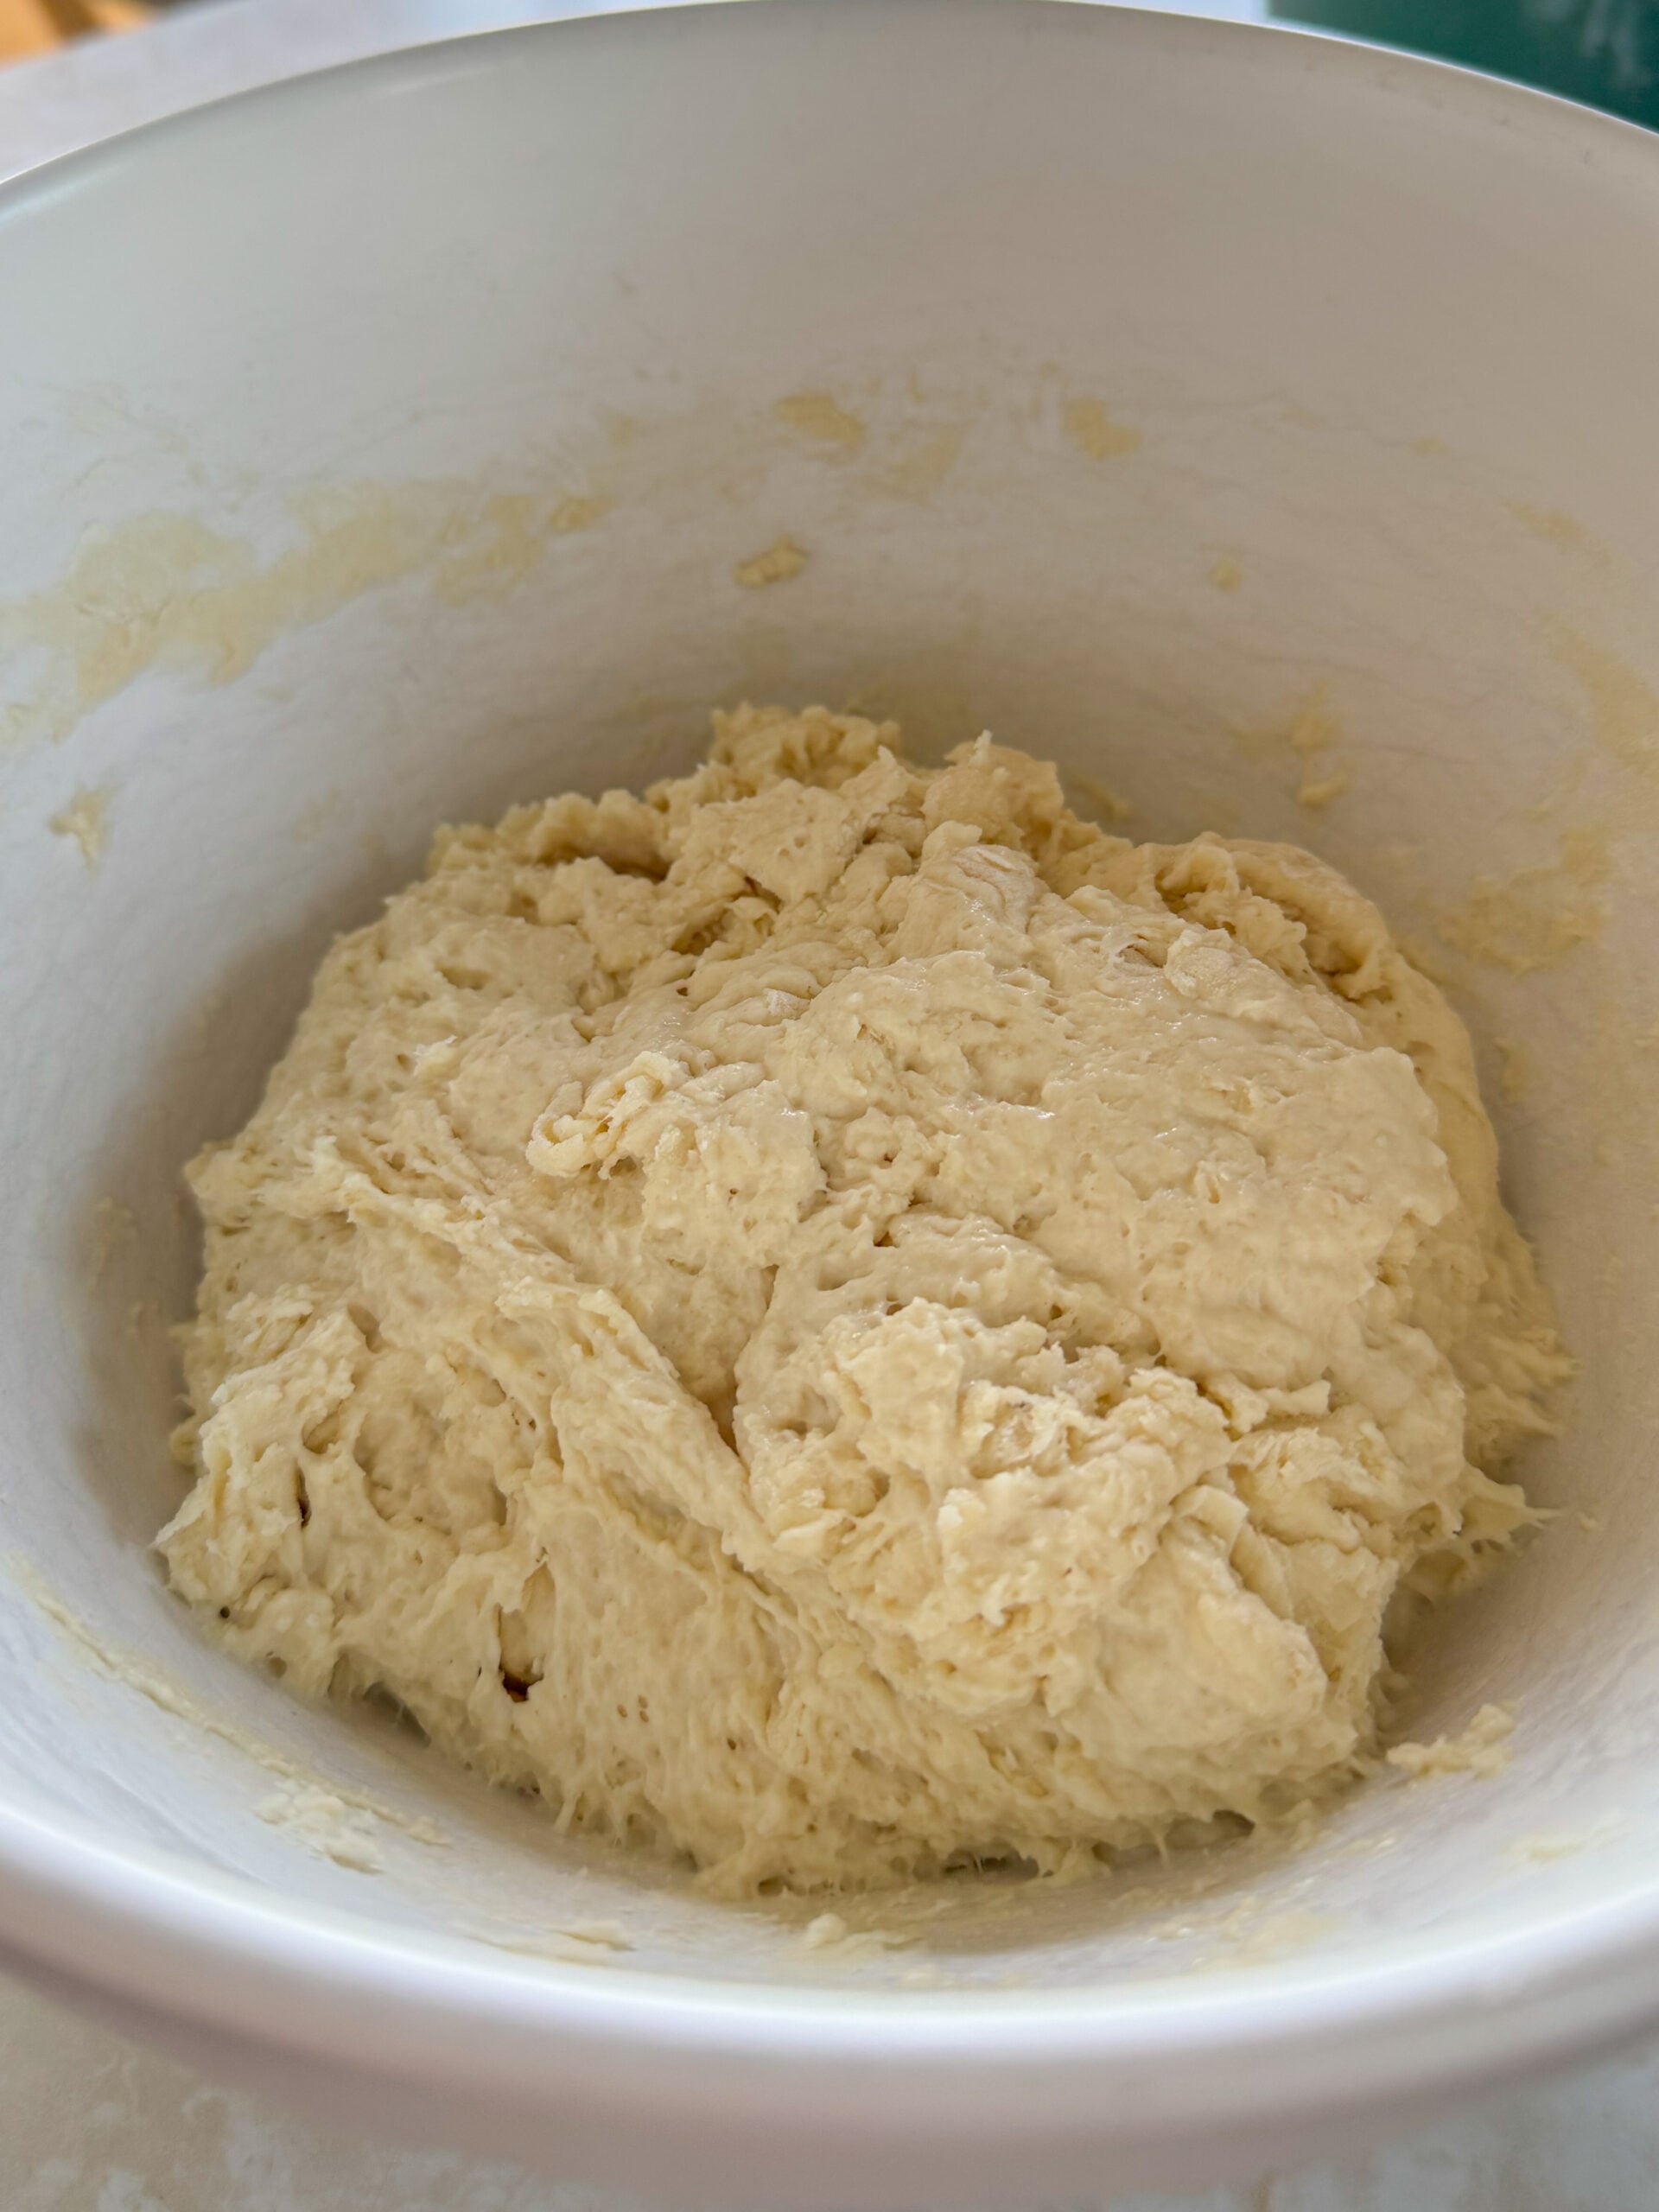
1. Make the Dough
In a large mixing bowl, combine the sourdough starter, warm filtered water, flour, and salt. Mix until no dry flour remains. Cover the bowl with a towel and let the dough rest for 30 minutes (this is called the autolyse phase).
2. Stretch and Fold
Wet your hands. Grab one edge of the dough, stretch it upward, and fold it over to the opposite side. Rotate the bowl and repeat this 4 times, working around the dough. Cover and let it rest for 30 minutes. This is the bulk fermentation phase.
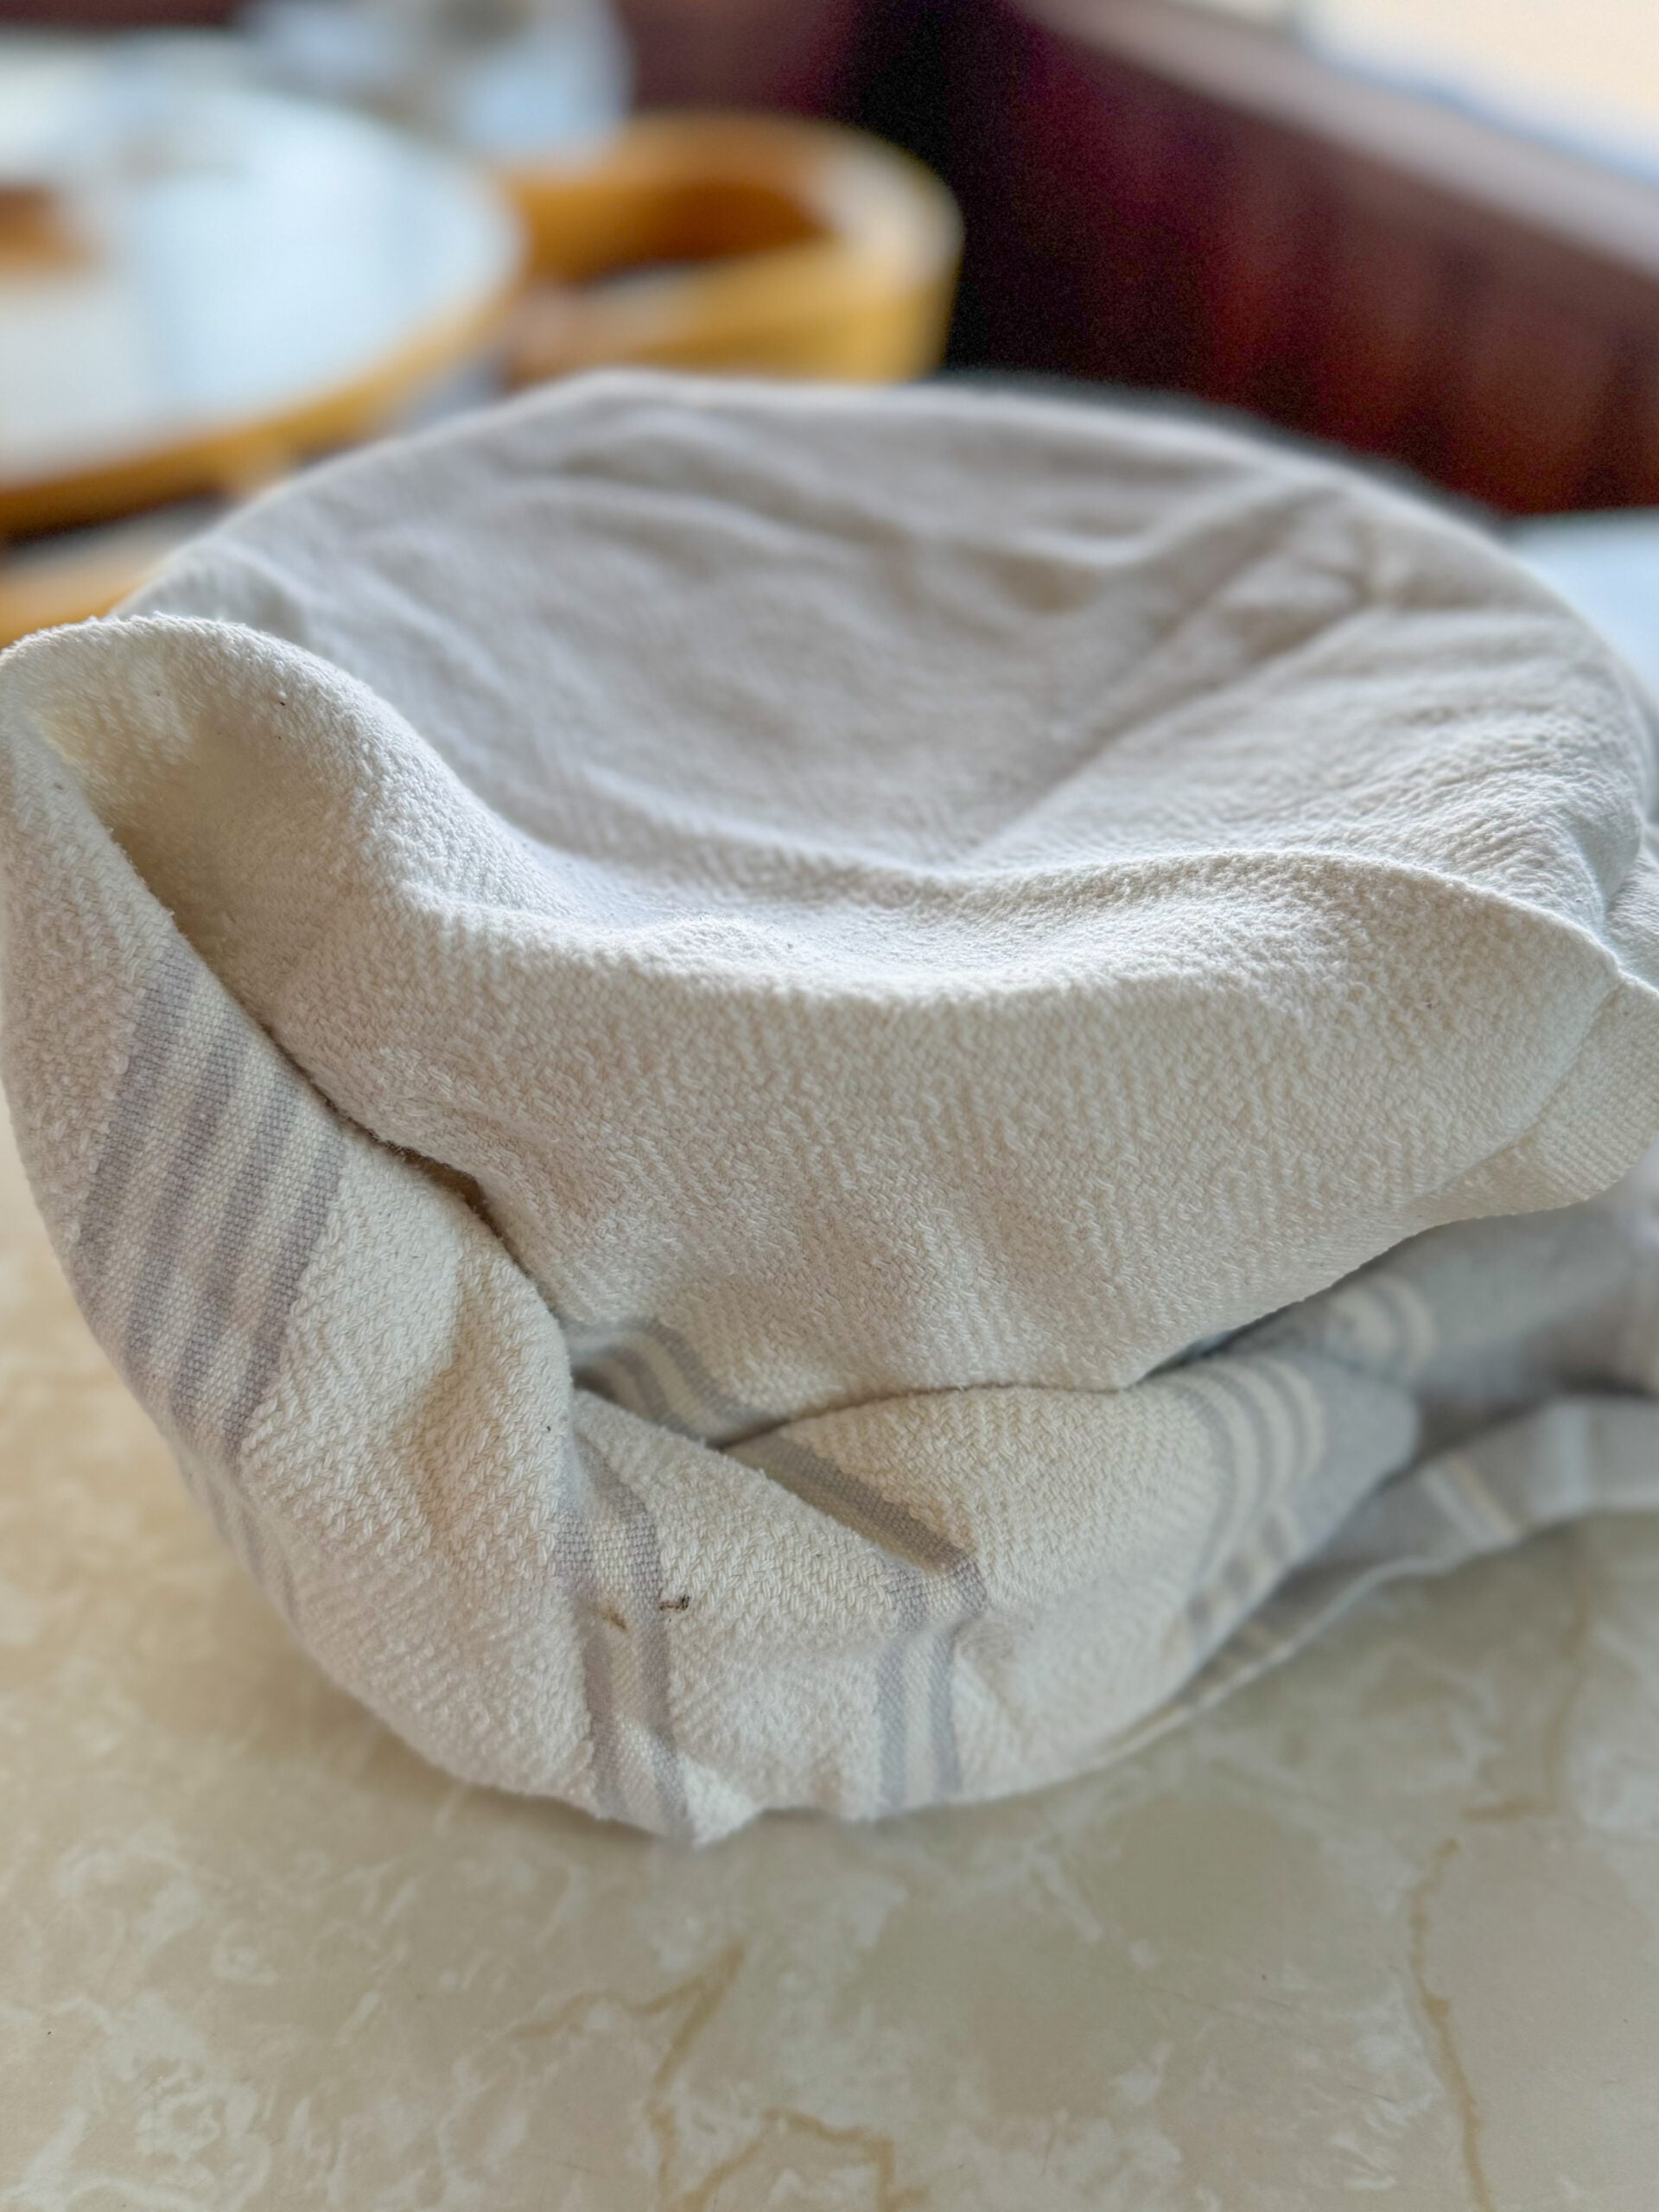
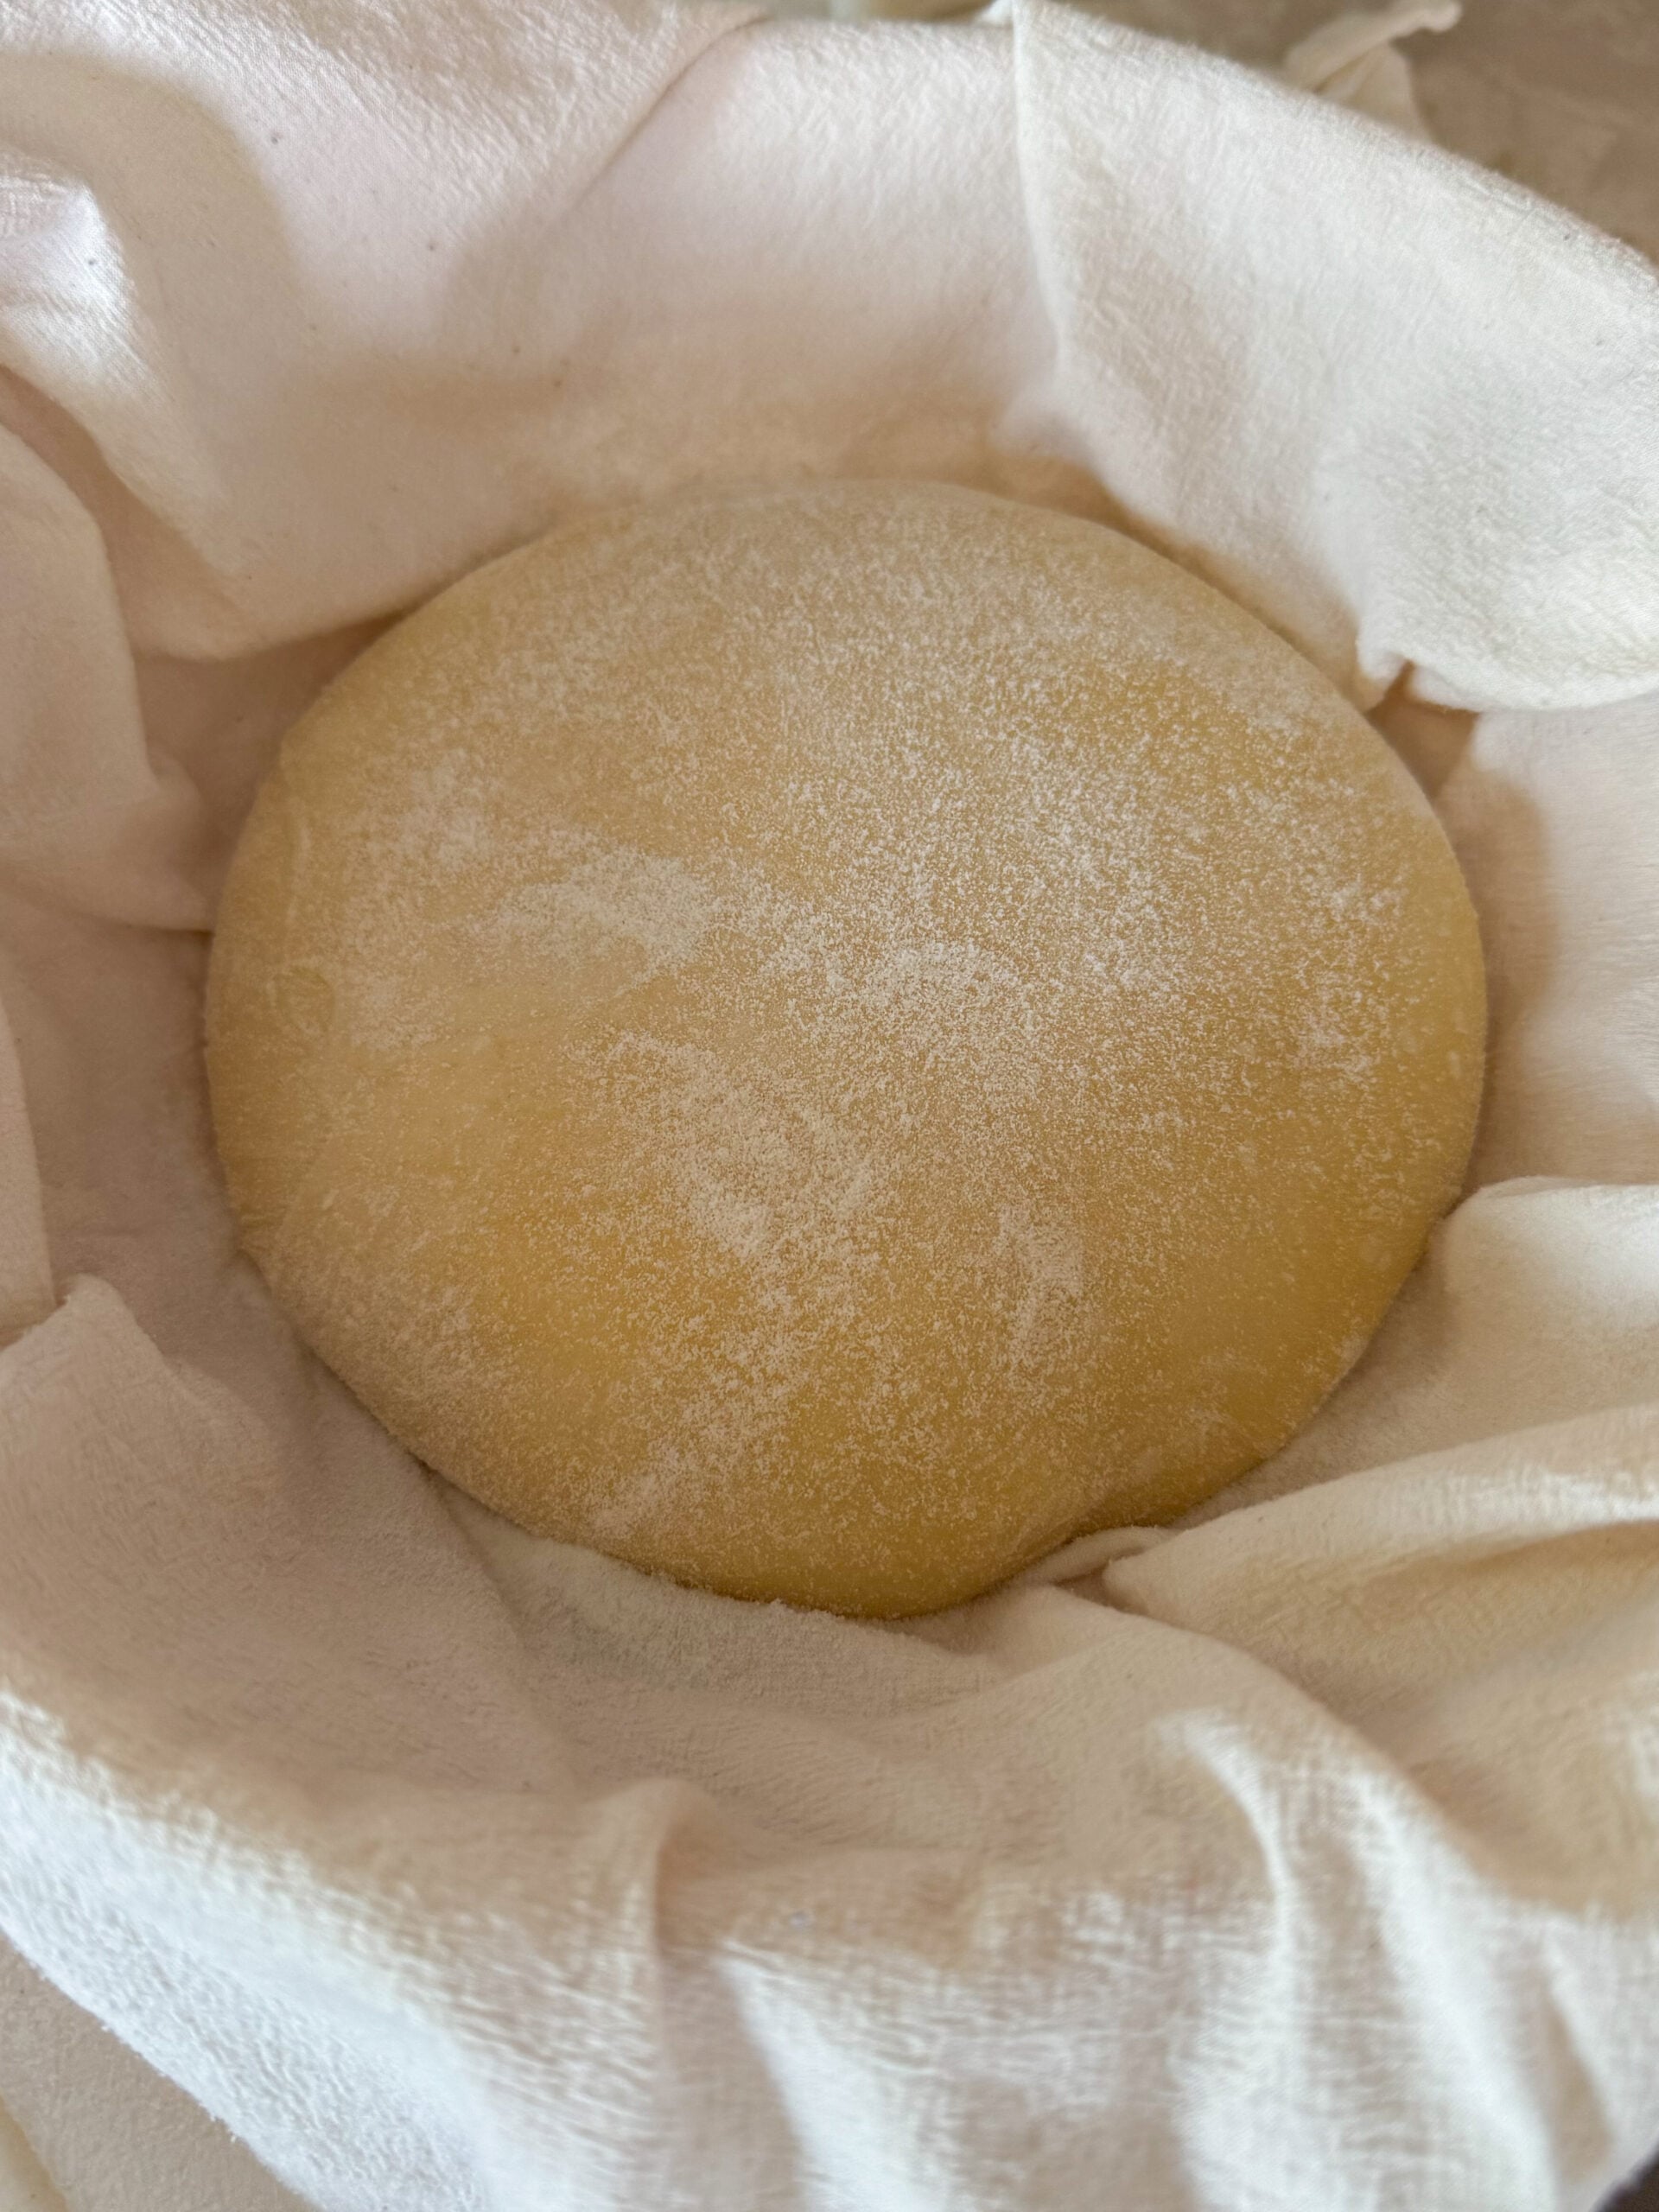
3. Shape and Refrigerate
After the final stretch-and-fold, gently shape the dough into a round by pulling the edges toward the center. If your dough is sticky, dust it with a little all purpose flour or white rice flour to make it easier to work with. Flip the dough over (smooth side up) and place it into a bowl lined with a well-floured tea towel. Cover with plastic wrap or a tea towel and refrigerate (cold proof) for 6–8 hours or overnight (up to 24 hours). The longer the dough ferments/proofs, the better the flavor and texture.
4. Preheat and Bake
Preheat the oven to 500°F (260°C) with your Dutch oven inside. Heat the Dutch oven for 30 minutes (very important). Carefully remove it from the oven and reduce the oven temperature to 450°F (230°C).
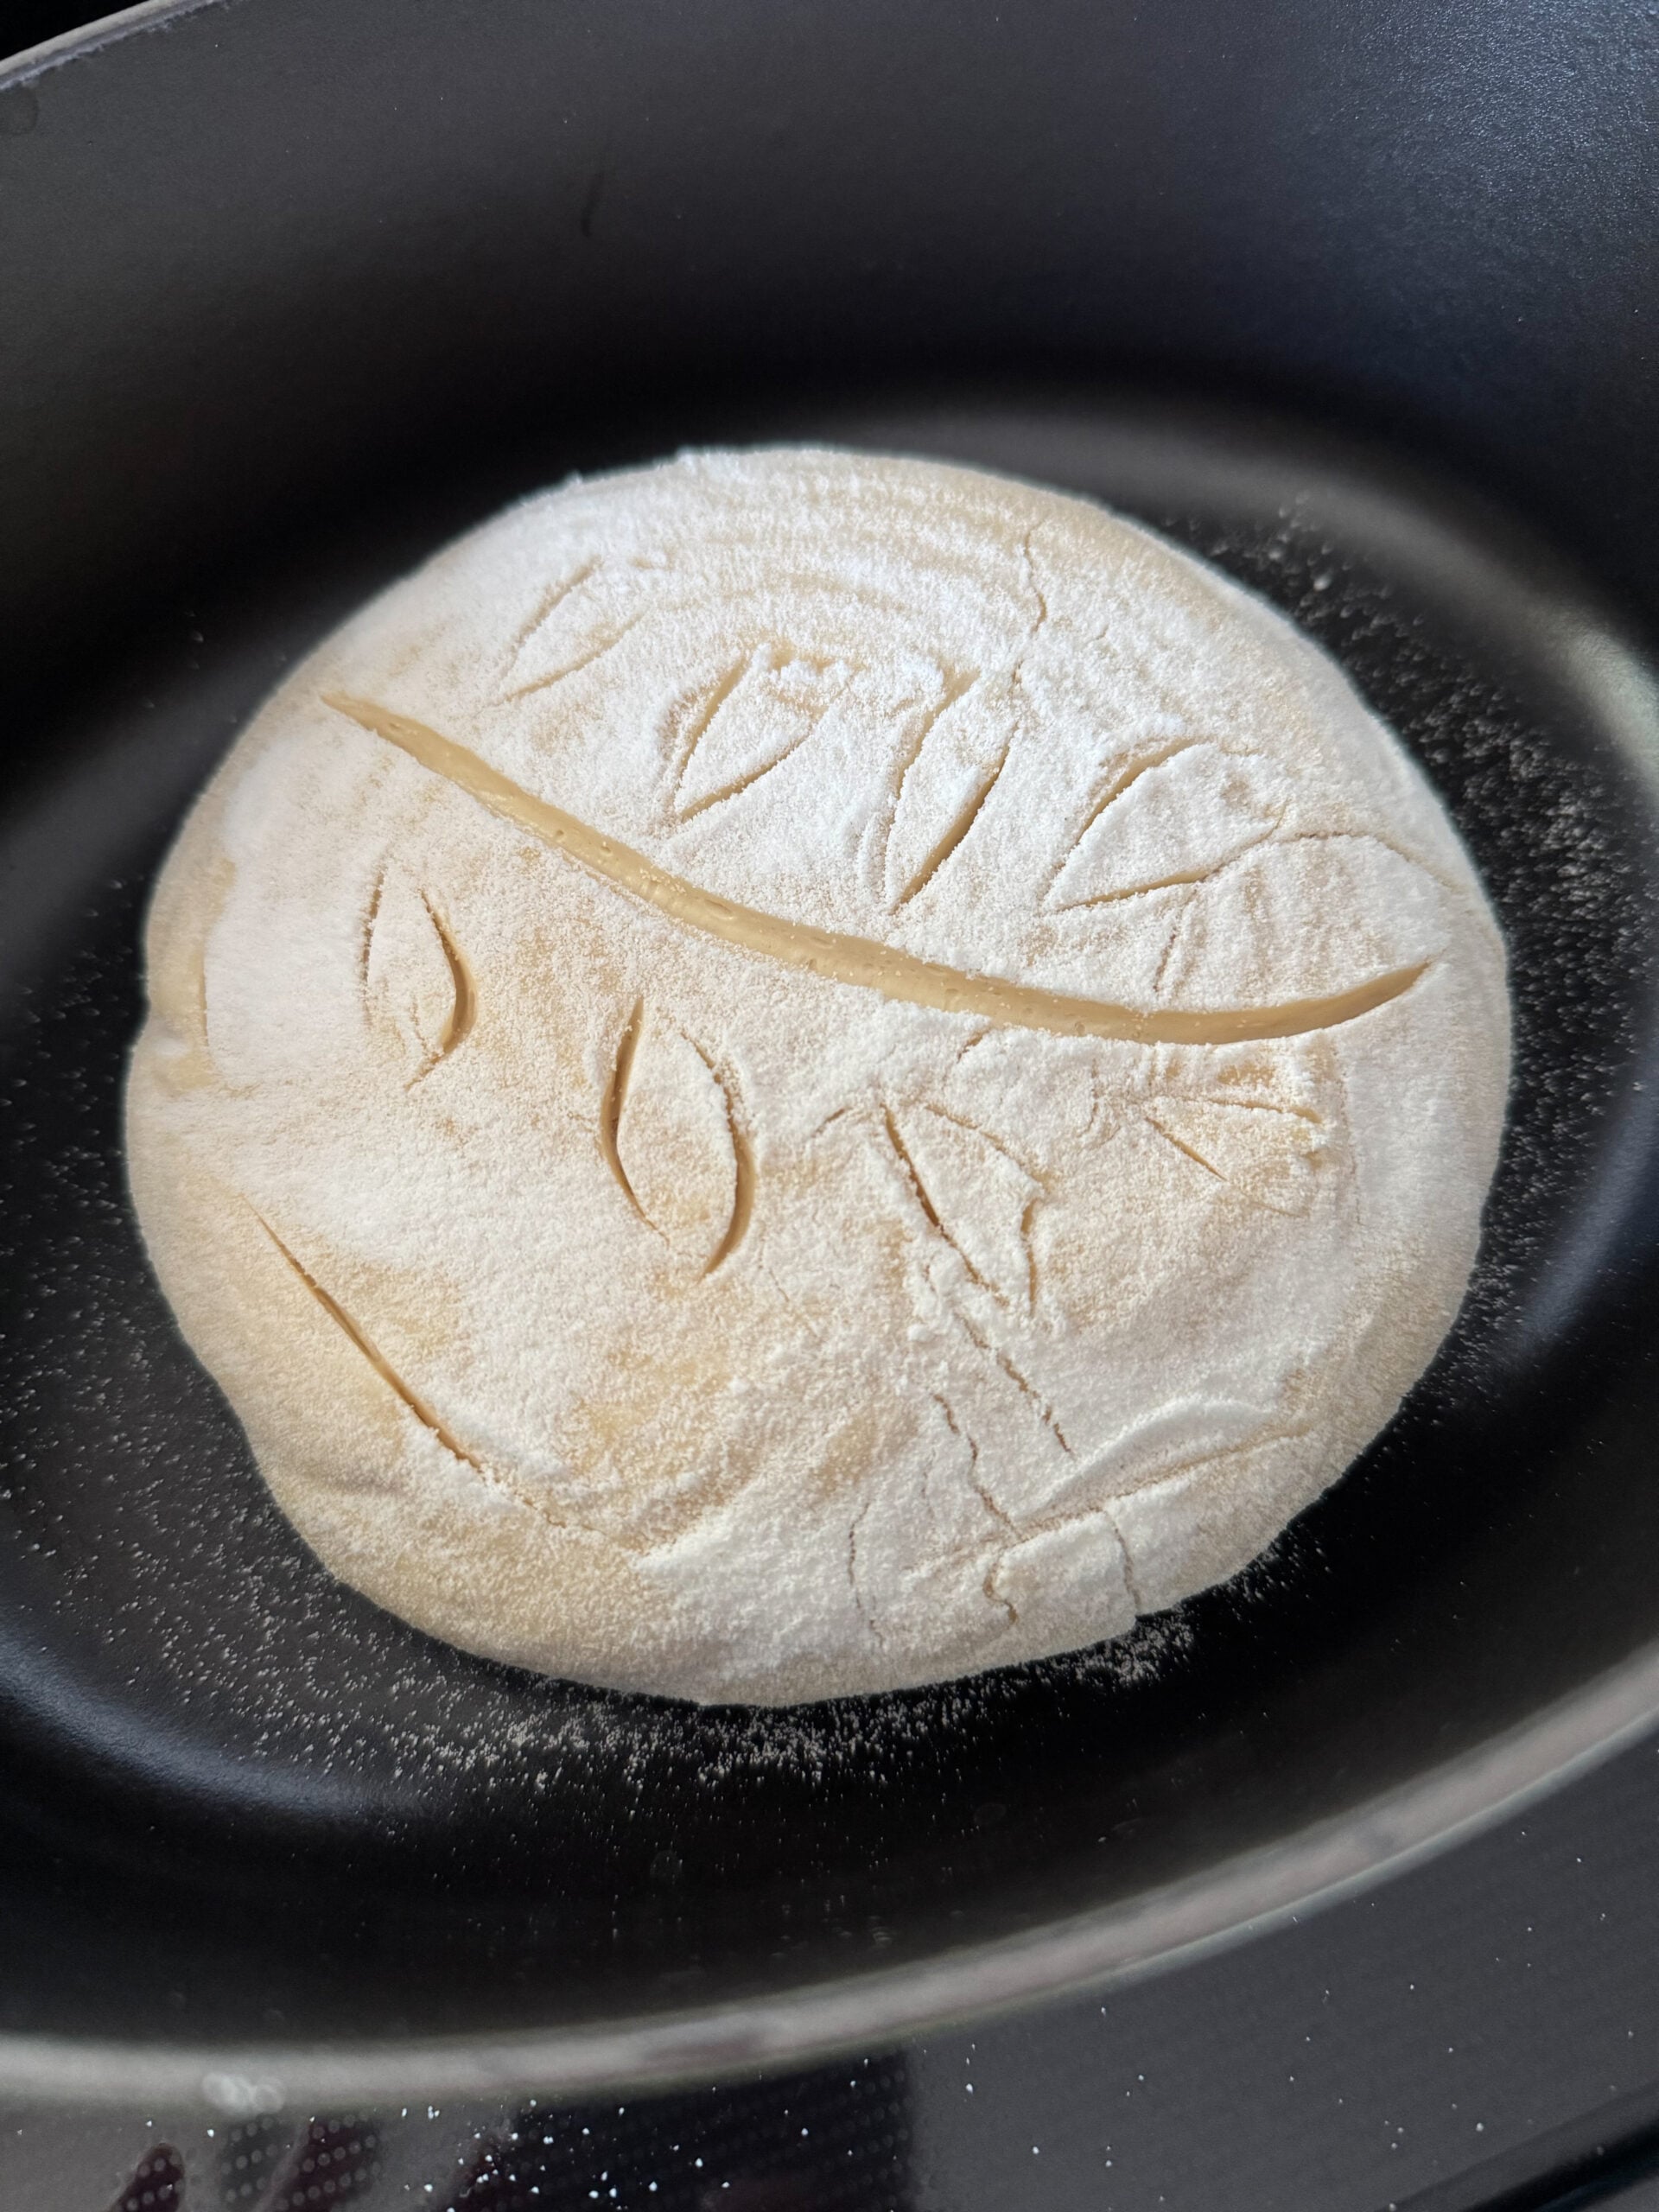
5. Baking
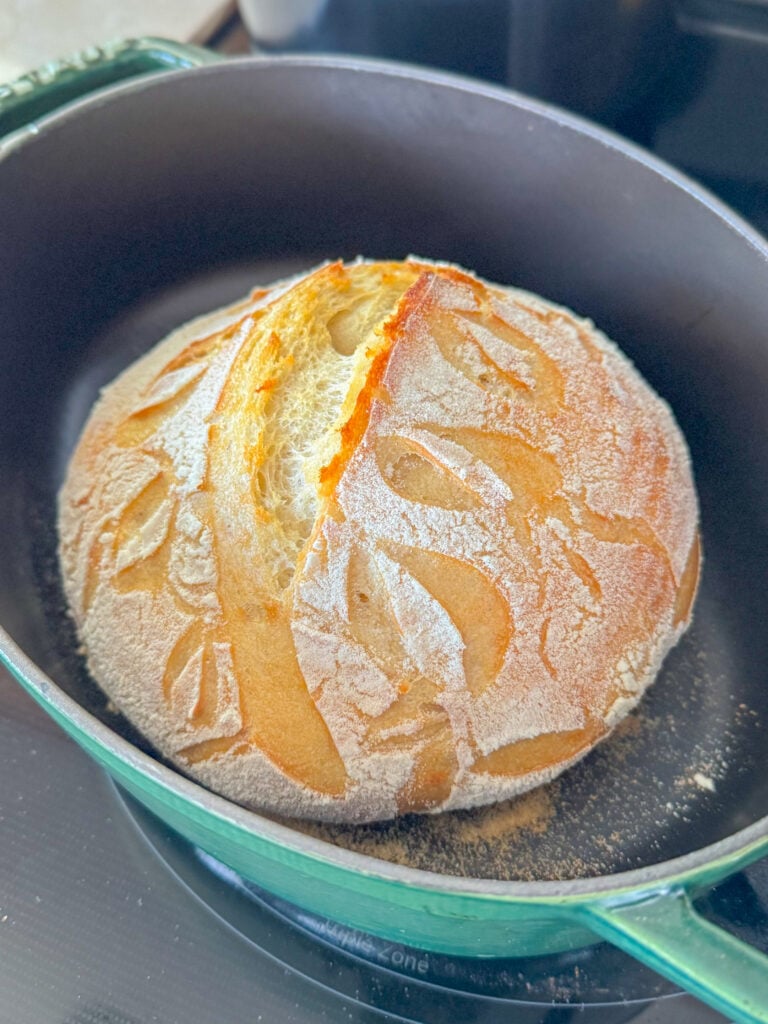
Turn the dough out onto parchment paper or directly into the hot Dutch oven. Score the top of the dough with a knife or bread lame. Cover and bake for 30 minutes. Remove the lid and bake uncovered for another 15 minutes, until the crust is golden brown. Let the bread cool on a wire rack for at least 1 hour before slicing. Enjoy!
Beginner Sourdough Tips
- Your starter should be active and bubbly before using
- Don’t skip the resting periods as this replaces kneading
- A longer fridge fermentation = better flavor
- If your dough feels sticky, that’s normal! Avoid adding too much flour
- Let the bread cool fully before slicing (this prevents a gummy texture)
- Filtered water is best
- Don't skip scoring as this allows steam to escape making your bread nice and fluffy
- Use rice flour to dust your tea towel instead of regular flour!
FAQs

Yes, you can replace up to half the flour with whole wheat, but it will produce a denser loaf. Stick to mostly all-purpose flour for a lighter texture.
You can use a heavy oven-safe pot with a lid, or place a baking pan of hot water in the oven to create steam—but a Dutch oven yields the best crust.
It should be bubbly, active, and pass the float test (a small spoonful should float in water). Feed it 4–6 hours before baking.
Toast – Top with avocado, nut butter, or jam
Sandwiches – Great for grilled cheese, paninis, and hearty veggie sandwiches
French Toast – The tang of sourdough pairs beautifully with maple and cinnamon
Croutons – Cube, season, and bake for salads or soups
Stuffing – Perfect for holiday dishes or everyday savory bakes
Breadcrumbs – Dry the bread and blend into crumbs for casseroles or coating
Pancakes or Waffles
Pizza Dough
Crackers
Biscuits or English Muffins
Soft Pretzels
Cinnamon Rolls or Sweet Rolls
Cookies or Brownies
Substitute It for Flour + Liquid
Since discard is made of flour and water, you can usually swap it in by replacing:
½ cup discard = ¼ cup flour + ¼ cup liquid in most recipes.
To Freeze a Whole Loaf:
Let the sourdough cool completely after baking.
Wrap it tightly in plastic wrap or foil, then place it in a freezer-safe bag or airtight container.
Freeze for up to 3 months.
To thaw, remove from the freezer and let it come to room temperature on the counter. For a crisp crust, reheat in a 350°F oven for 10–15 minutes.
To Freeze Slices:
Slice the bread once cooled.
Lay slices on a baking sheet in a single layer and freeze for 1–2 hours.
Transfer to a freezer bag with parchment between layers to prevent sticking.
Toast slices directly from frozen—no need to thaw!
Click Here for our Simple Sourdough Starter Recipe!
Quick Sourdough Troubleshooting
Is your sourdough dense/flat? It happens! In my experience, what can cause this is the starter may not be active enough, the dough didn’t ferment long enough, the dough may not have been scored well, or the dutch oven may not have preheated completely.
This is the best easy sourdough bread recipe for beginners using a no-knead method.

Sourdough Recipe For Beginners
Ingredients
Sourdough Ingredients
- ½ cup active starter
- 1 ⅓ cup warm filtered water
- 3 cup regular all purpose flour plus more for dusting
- 1 ½ teaspoon salt
- white rice flour optional for dusting
Instructions
Easy Sourdough Recipe
- In a big bowl, stir together the starter, warm water, flour, and salt until there’s no dry flour left. Cover and let it rest for 30 minutes.
- Wet your hands. Grab one edge of the dough, stretch it up, and fold it over. Turn the bowl and repeat on all sides (4 total folds). Cover and let it rest 30 minutes.
- Do that same stretch-and-fold step 3 more times over the next 2 hours—every 30 minutes. This helps build structure without kneading.
- After the final fold, flour your hands and gently shape the dough into a ball. Place it seam-side down in a bowl lined with a floured tea towel. Cover and stick it in the fridge for 6–24 hours.
- When you’re ready to bake, preheat your oven to 500°F with a Dutch oven inside. Let it heat for 30 minutes. Reduce the temp to 450.
- Carefully turn the dough into the hot Dutch oven (use parchment if you want). Score the top with a sharp knife or bread lame. Cover and bake at 450°F for 30 minutes.
- Take the lid off, carefully, and bake for another 15 minutes, until the crust is golden brown.
- Let your sourdough cool on a rack for at least an hour before slicing. It’s worth the wait!


Comments
No Comments