These homemade hand pies are a bite of jam-filled heaven. You only need 6 ingredients to make a batch of these buttery, golden, and lightly sweet pastries. They are baked, not fried, and completely vegan. This is family-friendly breakfast, dessert, or snack recipe that will everyone will love!
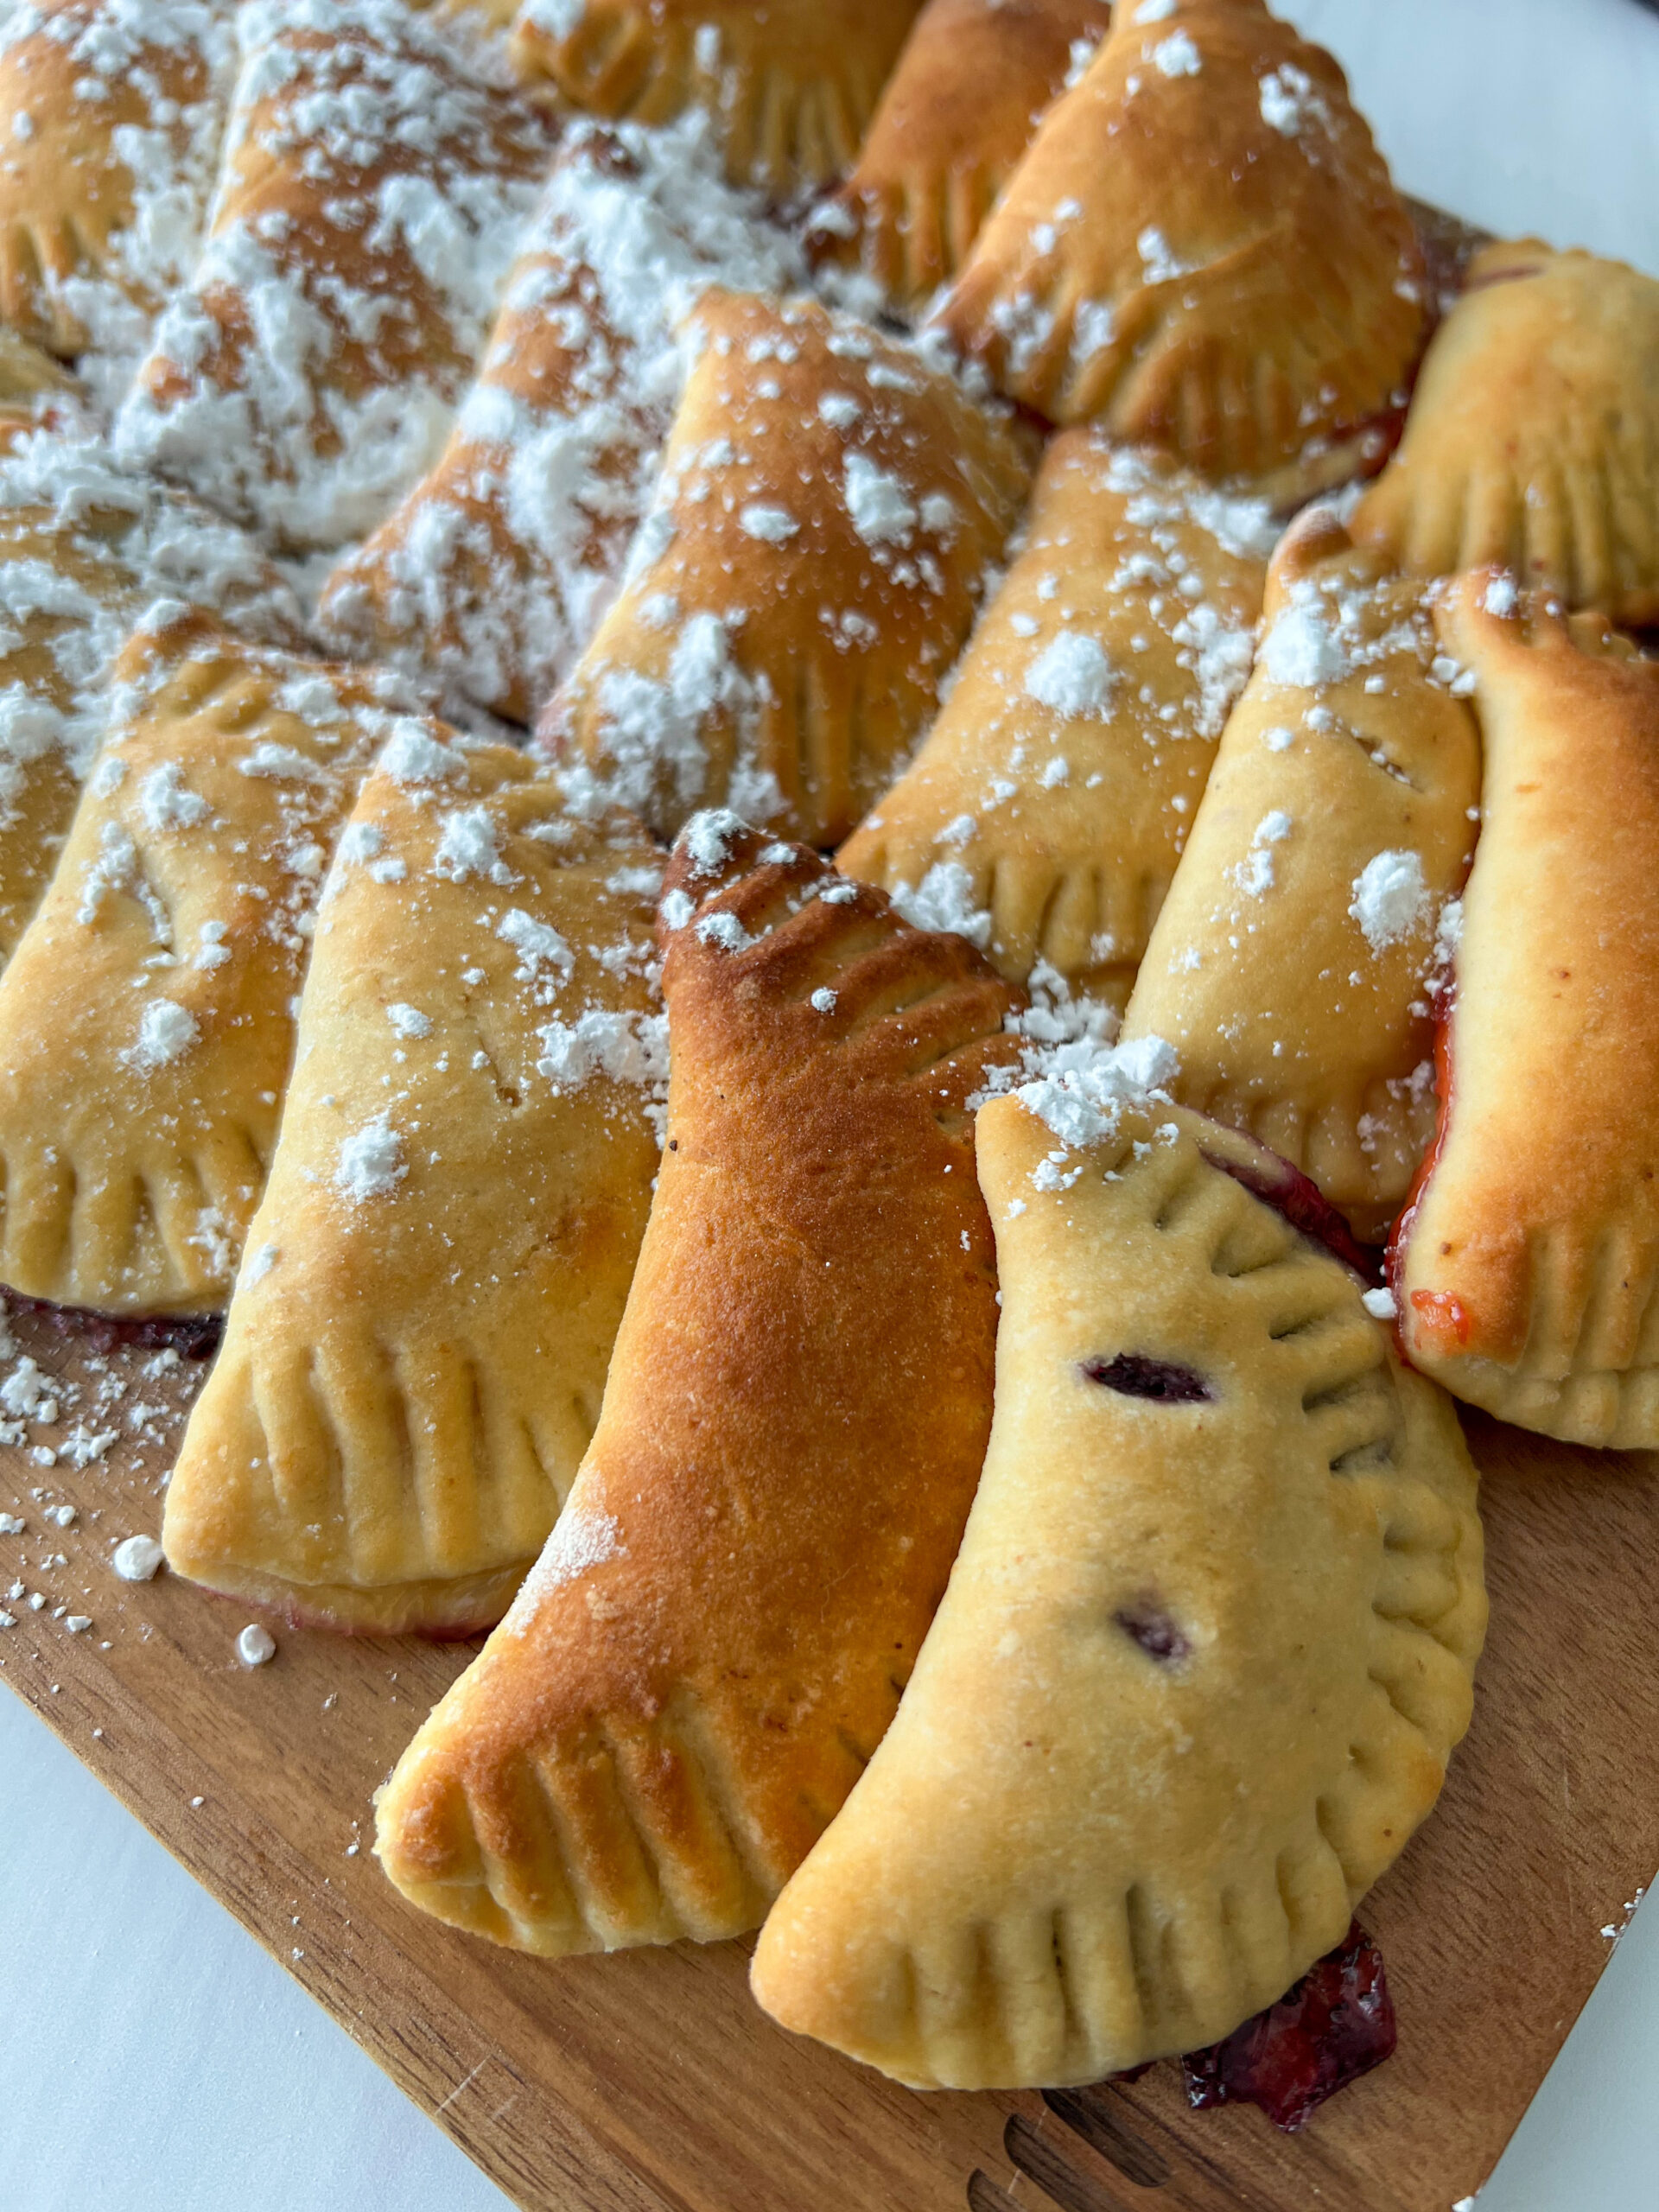
Hand pies make such a fun and festive addition to any brunch spread! They're also great for dessert or a sweet snack. These are easily customizable, as you can use any favorite jam, from strawberry to peach. You only need a handful of ingredients to make them and they taste just like pie, but are way easier to make!
Easy Hand-pie Ingredients Needed
- Plant-based Milk: To keep these dairy free and vegan, we recommend using a nondairy milk like oat milk or almond milk. If you're not vegan or dairy-free, regular milk will also work.
- Vegan Butter: Melted vegan butter makes the dough perfectly flakey. If you're not vegan or dairy-free, feel free to use regular butter.
- Maple Syrup: For sweetening the dough and also brushed over the hand pies before baking for extra sweetness.
- Yeast: Gives the dough a bit of fluffiness and a lovely texture.
- Flour: We recommend using all-purpose flour for the dough. If you want to make gluten-free hand pies, we recommend using a gluten-free flour like King Arthur Measure for Measure.
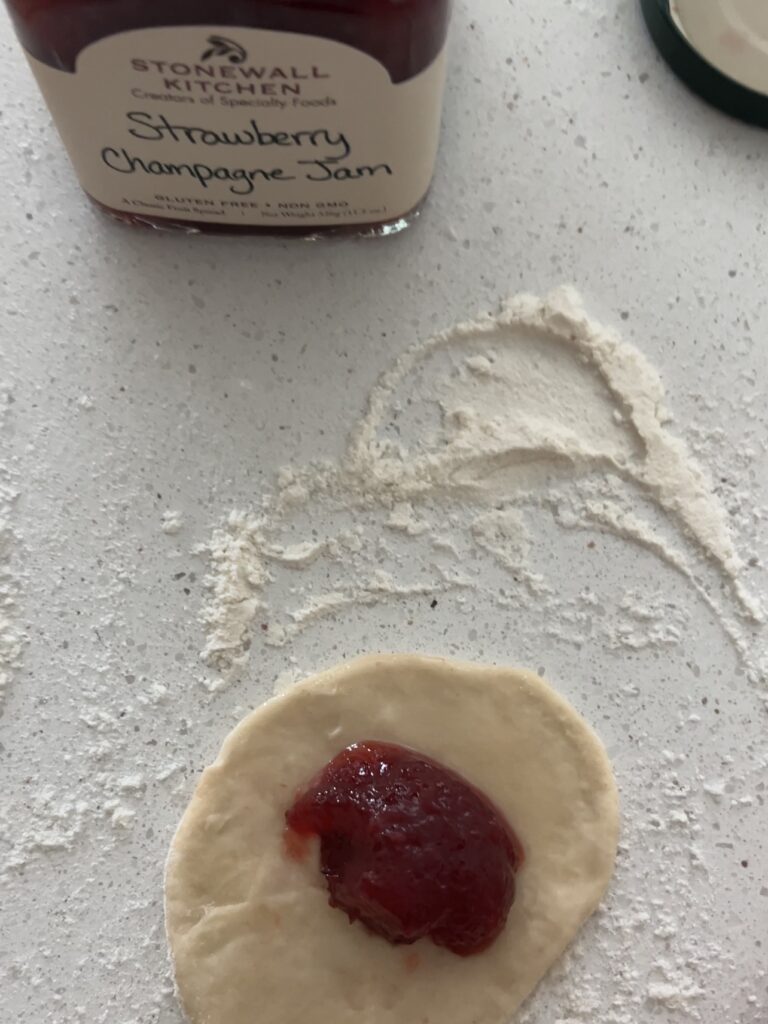
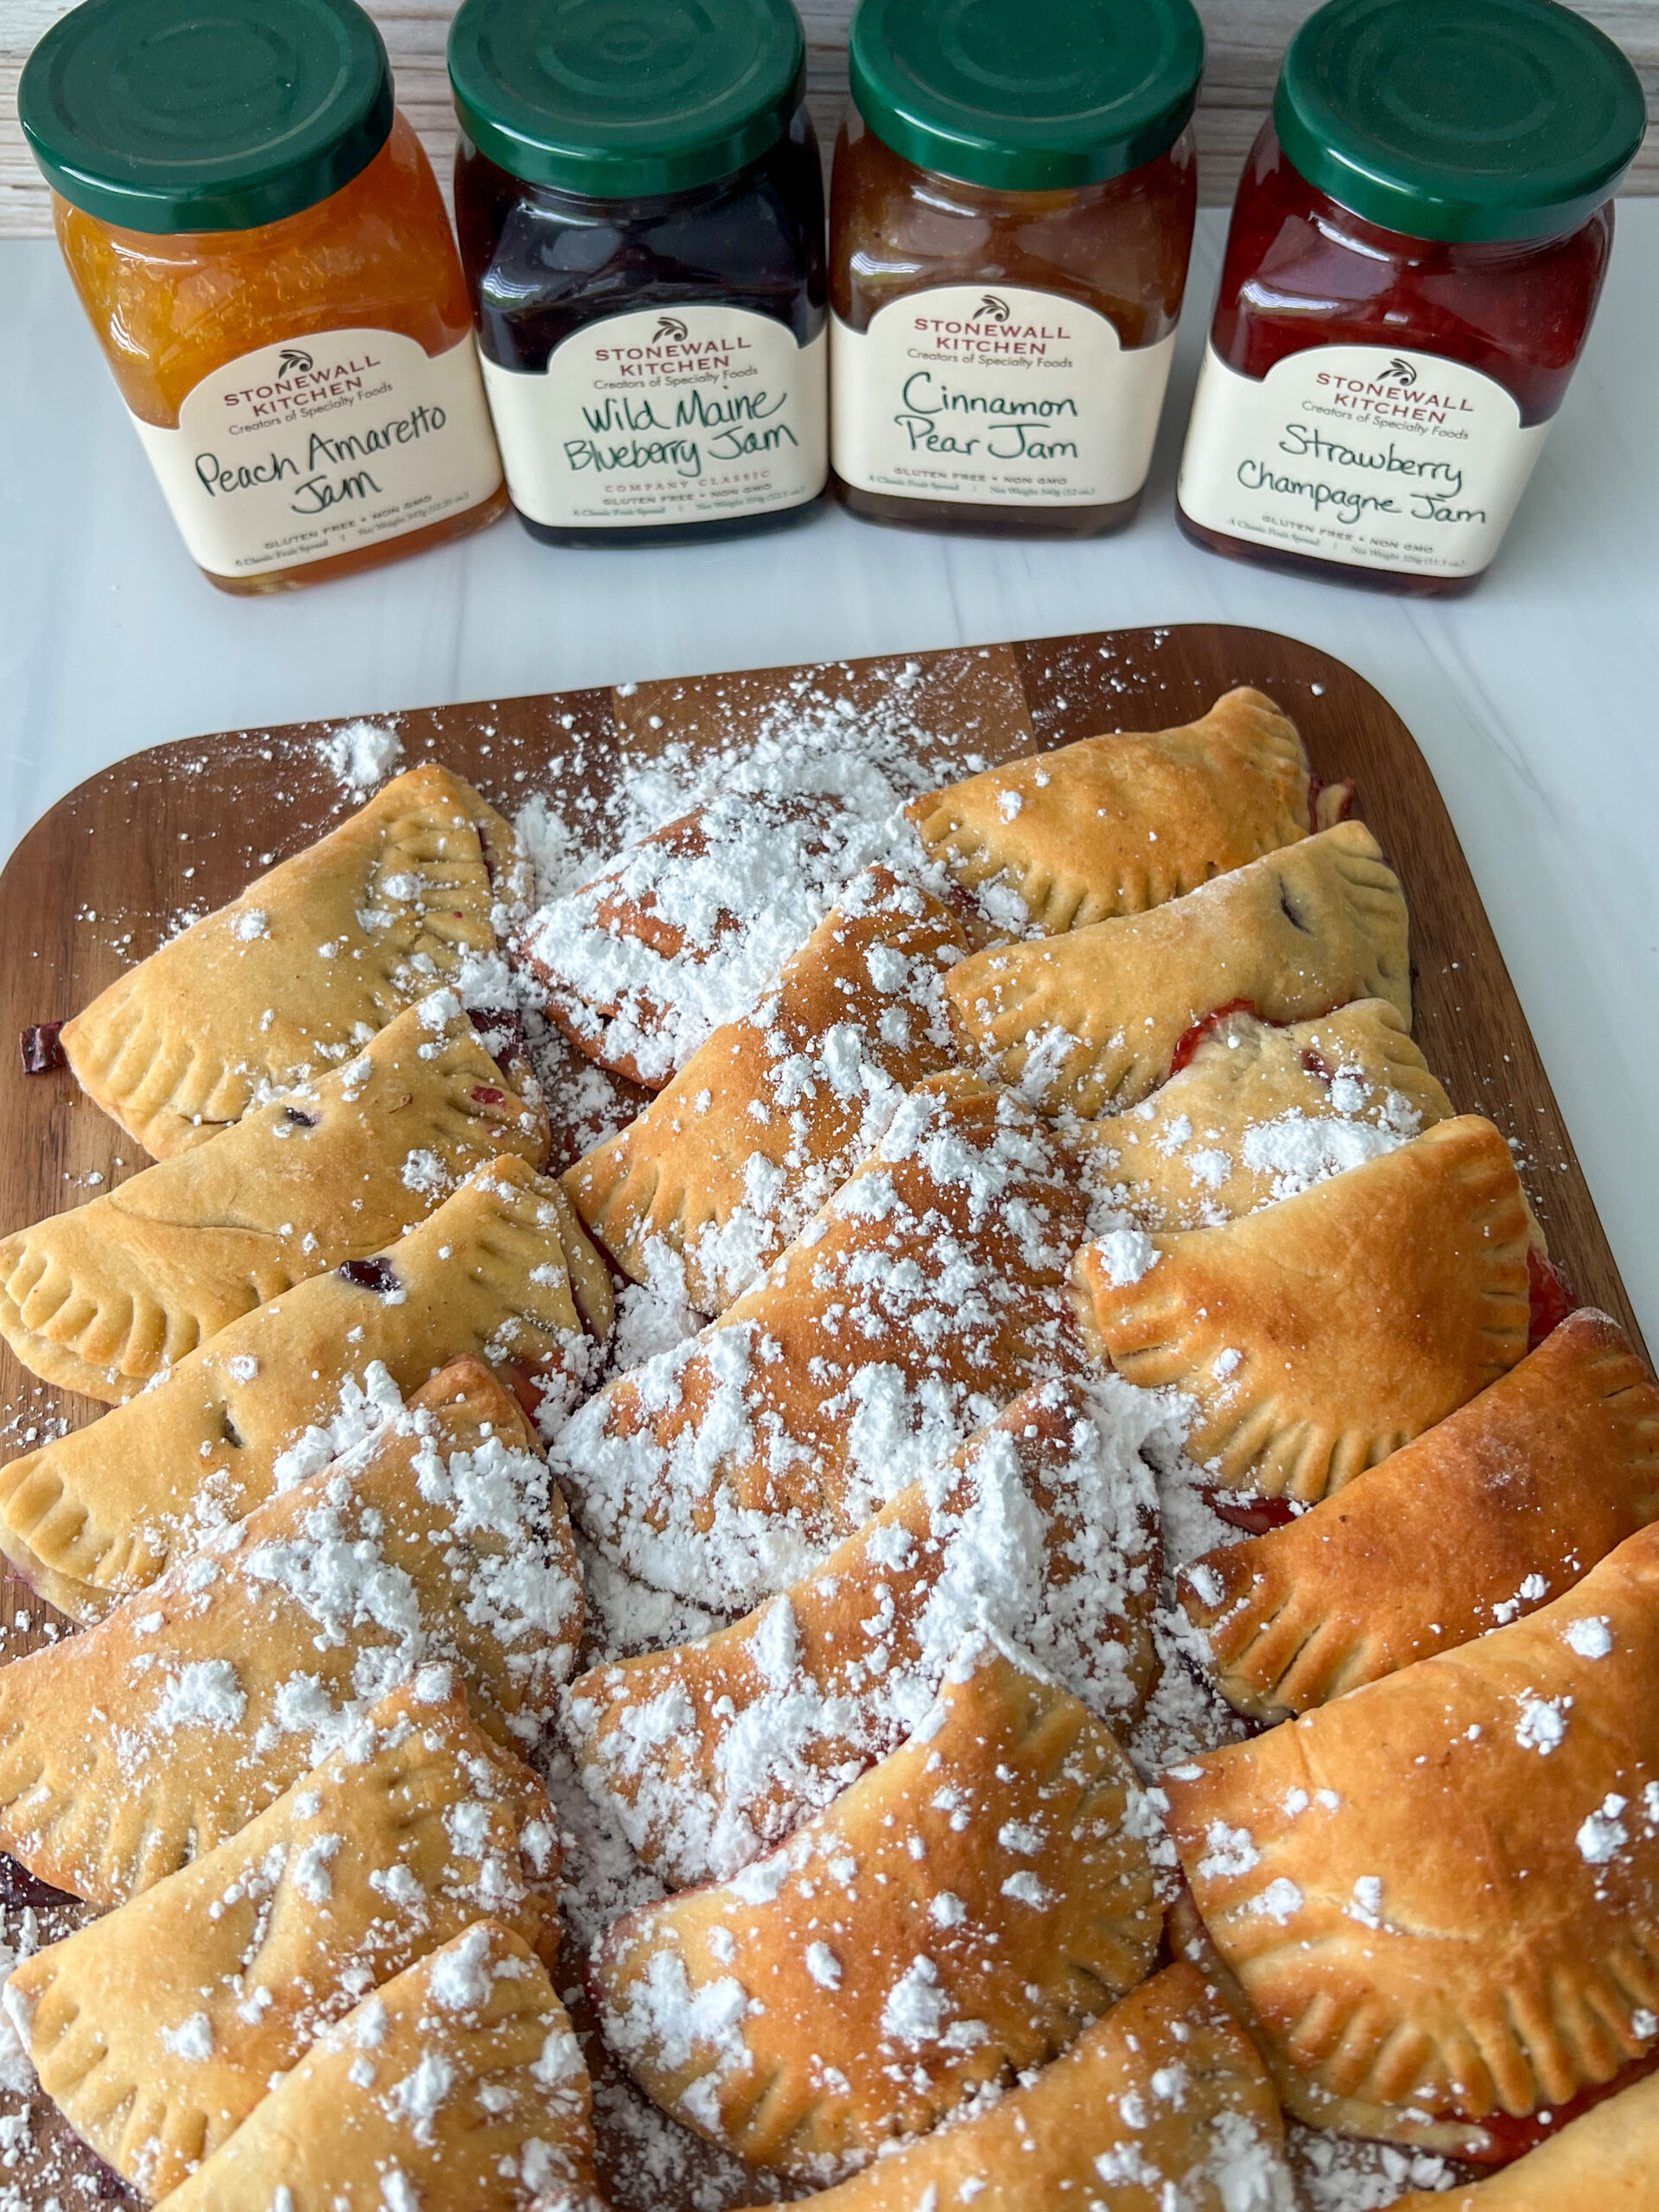
- Jam: We love the flavor of Stonewall Kitchen Jams! Use any favorite flavor you'd like!
- Powdered Sugar: If you'd like, dust a little powdered sugar over the tops before serving.
How to Make the Dough
- Pour your oat or almond milk into a microwave safe bowl. Heat the milk for about 30 to 45 seconds until it is warm but not hot. Mix with freshly melted vegan butter, and maple syrup. Sprinkle the top of the mixture with active dry yeast and allow this to sit for about 5 minutes, or until the yeast begins to activate.
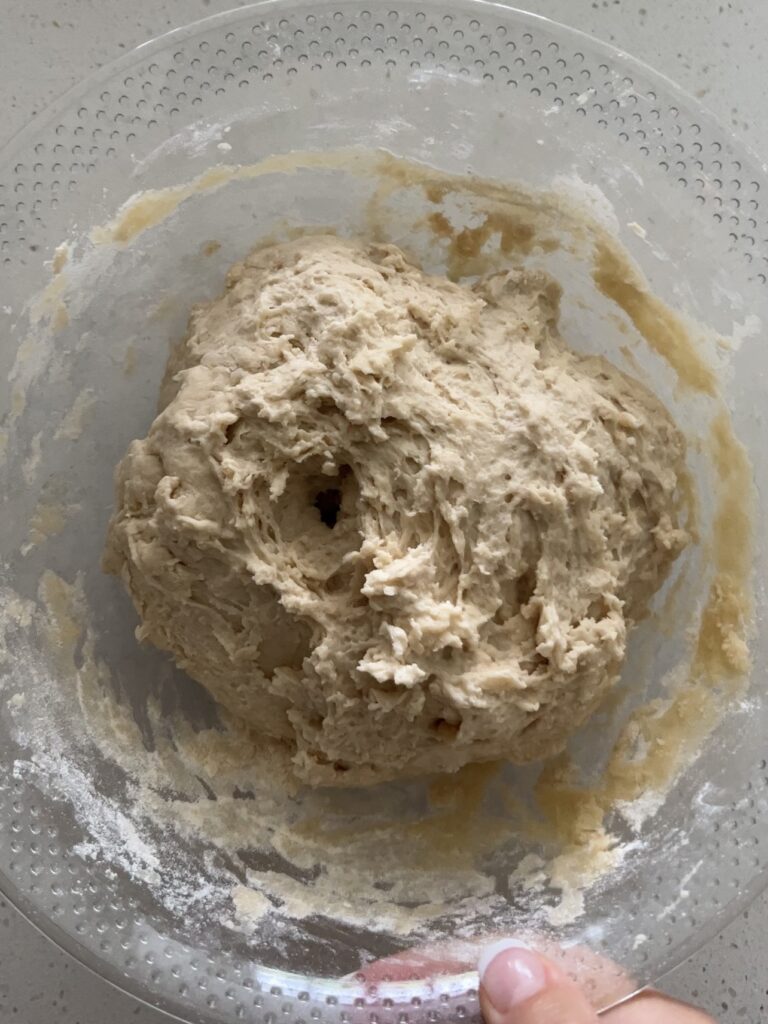
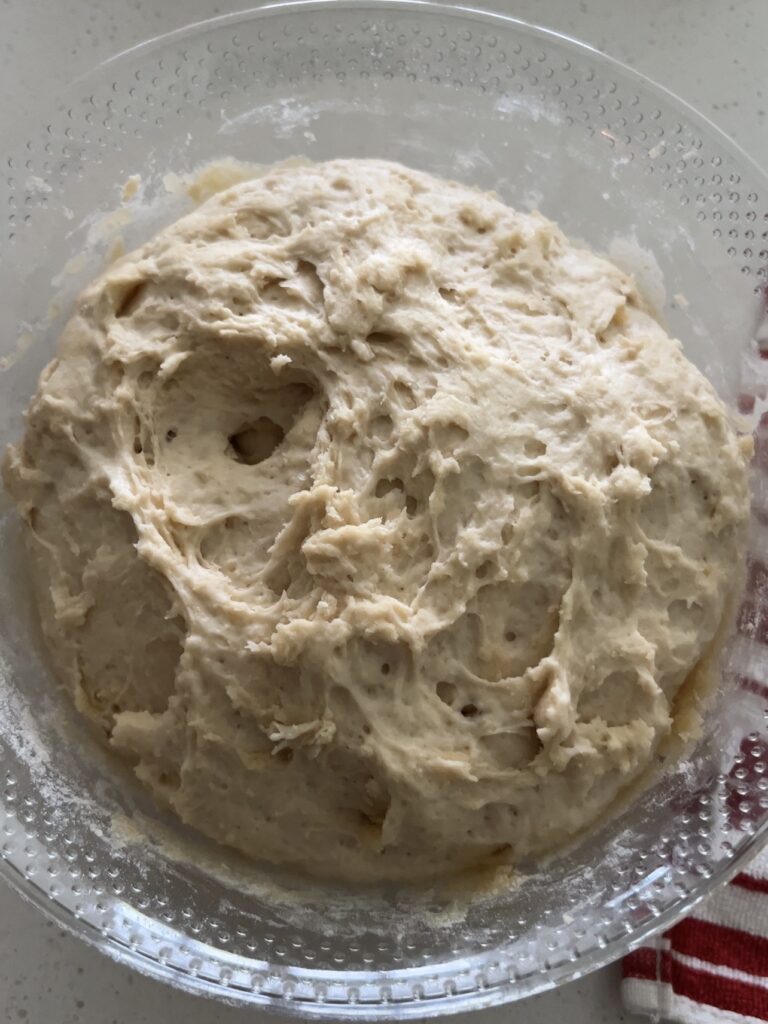
- Use a fork to mix in the regular all purpose flour and then use your hands to form the dough into a mound. Leave the dough in the bowl and cover the bowl with a kitchen towel. Allow the dough to rise for about 30 minutes to an hour, or until it's nearly doubled in size.
- Preheat the oven to 375 degrees F. To help my dough rise faster, sometimes I will set the bowl on top of or near the warm oven.
- While you are waiting on the dough to rise, melt vegan butter in a small bowl and then mix with maple syrup. Set aside.
How to Create the Hand Pies
- Once the dough has risen, place it onto a well-floured surface. Use a floured rolling pin to roll the dough into a large ½ inch-thick slab.

- Using the opening of a mason jar or narrow cup (or a round pastry/cookie cutter), cut the dough into medallions and set them to the side. Once you've run out of room to keep cutting, use your hands to form the dough back into a mound, roll, and continue cutting. Repeat this until you've used all of the dough. You should have about 40-45 rounds.
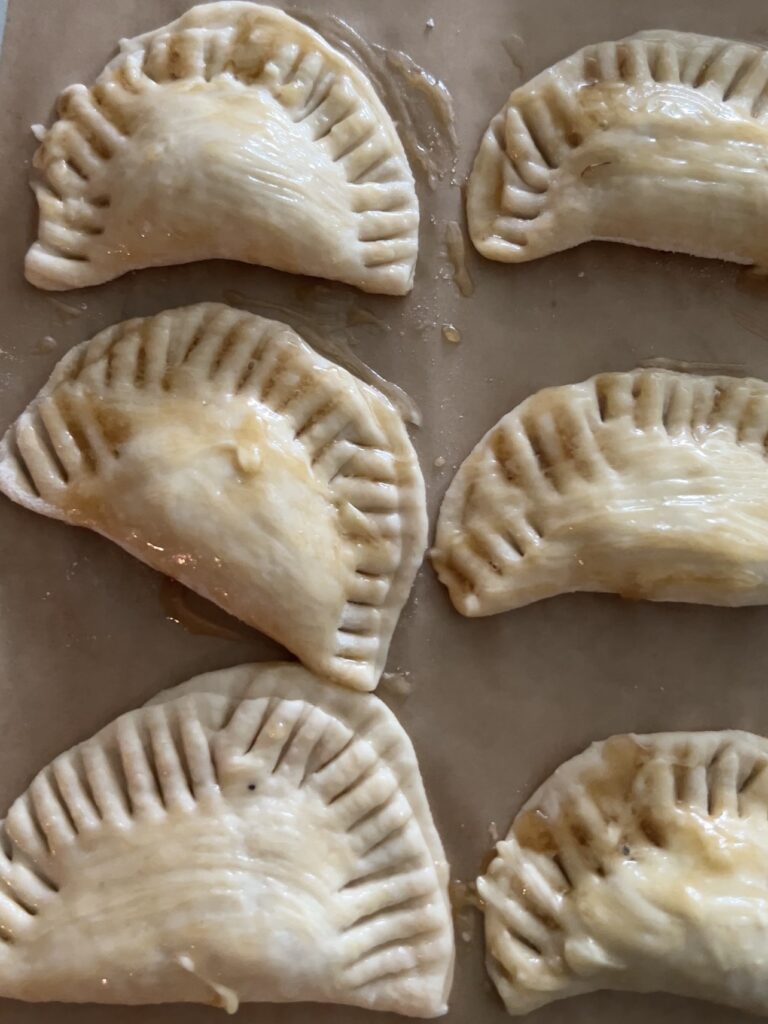
- Flour your surface again and then use a rolling pin to roll out each circle of dough until it's about ¼-inch thick. Use a pastry brush to lightly brush the edges of each round with the maple butter mixture. Use a ½ tablespoon measuring spoon to spoon the jam into the center of the pastry. Fold the circle in half to create a "football" shape and then use a fork to press the edges to seal the pastry.
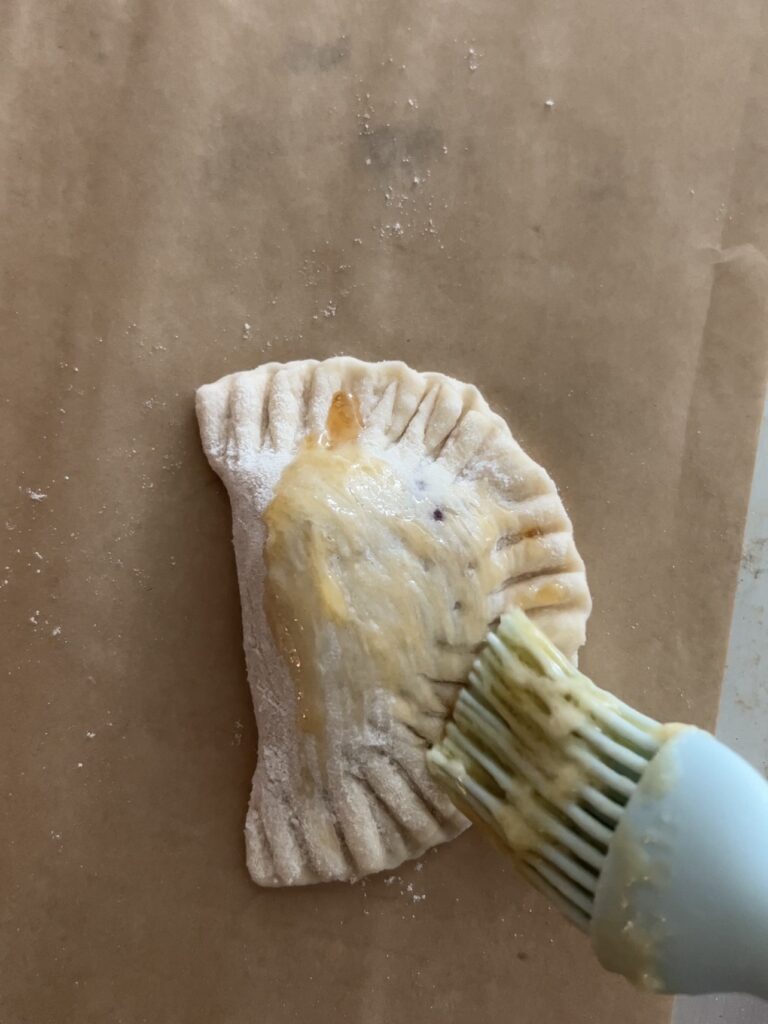
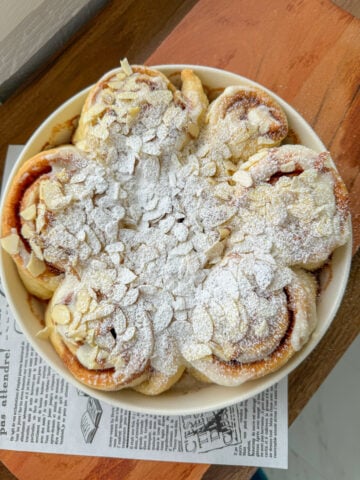
- Place each pastry onto a baking sheet lined with parchment paper. Use a knife to slice 1 or 2 air vents into each pastry. Use a brush to lightly brush the top of each pastry with more maple butter. Bake in the oven for about 25-30 minutes or until the pastries are golden brown. You may need to do this is in 2 or 3 batches. Serve them warm with powdered sugar sprinkled on top.

Expert Tips
- Pressing the dough: Be sure to press the edges together to completely seal the dough and create 1 or 2 air vents in each pie before baking, so that the hand pie does not pop open.
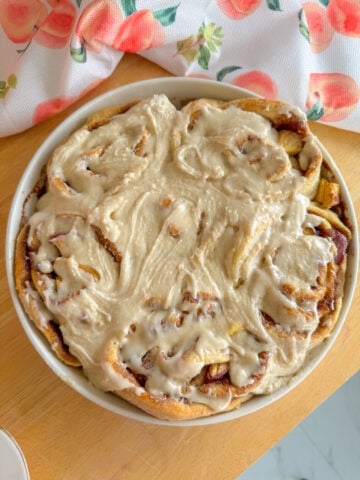
- Glaze: If you'd like, you can make a quick and easy glaze to drizzle over the tops before serving. Simply mix about ½ cup powdered sugar with about 1 tablespoon unsweetened almond or oat milk and ½ teaspoon vanilla.
- Freezing: Feel free to store these in the freezer for up to 3 months. Allow them to cool completely. Place in single layer in a freezer safe container or in zip-top freezer bag. Thaw in refrigerator overnight and enjoy.
Frequently Asked Questions
The main difference is that when making turnovers the dough is typically folded over while hand pies are usually made in a circular or square shape and pressed closed on all sides. This recipe might actually be more commonly referred to as turnovers since the dough is folded over.
Hand pies are typically made with either a pie crust type of dough or puff pastry dough. They both work really well!
These particular hand pies do not need to be stored in the refrigerator because they are made without dairy or eggs. They will keep fresh for about 2 to 3 days at room temperature. If you'd like to serve them warm, simply pop them in the microwave for about 20 to 30 seconds.
Storage Recommendations
Any leftover hand pies should be stored in an airtight container at room temperature for 2-3 days.
More Vegan Pie Recipes
- Healthy Hand-Held Apple Pies
- Easy Apple Pie Vegan Biscuits
- Healthy Banana Cream Pie
- Vegan Pumpkin Pie

Easy Hand Pies
Ingredients
Hand Pie Dough Ingredients
- 1 cup oat or almond milk
- 4 tablespoon melted vegan butter
- 2 tablespoon Stonewall Kitchen Maine Maple Syrup
- 3 teaspoon active dry yeast
- 2 ½ cup regular or gluten free all purpose flour If gluten-free, I recommend King Arthur Measure for Measure. Please don't substitute any other flour such as almond flour, baking flour, etc.
- any flavor of Stonewall Kitchen Jams
Hand Pies Topping
- 4 tablespoon melted vegan butter
- 4 tablespoon Stonewall Kitchen Maine Maple Syrup
- powdered sugar for dusting
Instructions
Easy Vegan Hand Pies
- Pour your oat or almond milk into a microwave safe bowl. Heat the milk for about 30 to 45 seconds until it is warm but not hot. Mix with freshly melted vegan butter, and maple syrup. Sprinkle the top of the mixture with active dry yeast and allow this to sit for about 5 minutes, or until the yeast begins to activate.
- Use a fork to mix in the regular all purpose flour and then use your hands to form the dough into a mound. Leave the dough in the bowl and cover the bowl with a kitchen towel. Allow the dough to rise for about 30 minutes to an hour, or until it's nearly doubled in size.
- Preheat the oven to 375 degrees F. To help my dough rise faster, sometimes I will set the bowl on top of or near the warm oven.
- While you are waiting on the dough to rise, melt vegan butter in a small bowl and then mix with maple syrup. Set aside.
- Once the dough has risen, place it onto a well-floured surface. Use a floured rolling pin to roll the dough into a large ½ inch-thick slab.
- Using the opening of a mason jar or narrow cup (or a round pastry/cookie cutter), cut the dough into medallions and set them to the side. Once you've run out of room to keep cutting, use your hands to form the dough back into a mound, roll, and continue cutting. Repeat this until you've used all of the dough. You should have about 40-45 rounds.
- Flour your surface again and then use a rolling pin to roll out each circle of dough until it's about ¼-inch thick. Use a pastry brush to lightly brush the edges of each round with the maple butter mixture. Use a ½ tablespoon measuring spoon to spoon the jam into the center of the pastry. Fold the circle in half to create a "football" shape and then use a fork to press the edges to seal the pastry.
- Place each pastry onto a baking sheet lined with parchment paper. Use a knife to slice 1 or 2 air vents into each pastry. Use a brush to lightly brush the top of each pastry with more maple butter. Bake in the oven for about 25-30 minutes or until the pastries are golden brown. You may need to do this is in 2 or 3 batches. Serve them warm with powdered sugar sprinkled on top.
Video

Notes
Nutrition
The recipes on Peanut Butter and Jilly can easily be adapted to fit a vegan lifestyle, a gluten-free lifestyle, or both depending on the ingredients you use. Please review the ingredients lists carefully and refer to our recommendations in the Notes of the recipe card to make this recipe compatible with your needs. Nutrition information provided is an estimate, and will vary based on specific brands of ingredients used and cooking methods.
Comments
No Comments